Salesforce CPQ Bundle Configuration
Create products and configure bundles in Salesforce CPQ
7/7/20242 min read
Salesforce CPQ Bundles offer a range of features with multiple provisions for up selling and cross selling. Creation and configuration of Bundles is the first step towards leveraging CPQ as a tool to enhance business and ensure customer satisfaction.
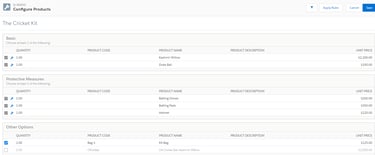
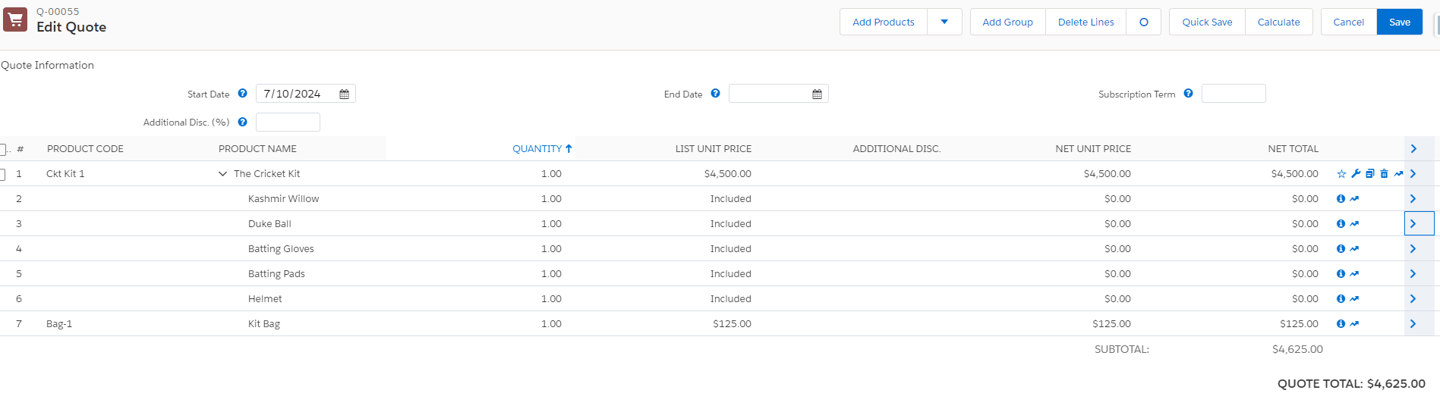
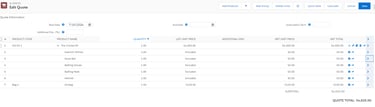
The CPQ package uses standard products with price books and several related custom objects part of the installed application. Since a bundle includes multiple products in it, the individual products have to be set up first in Salesforce ( with their own prices too so that they can be sold independently as well). Let us take a simple example of selling a Cricket Kit as a bundle. A kit contains a bat, gloves and pads, a cricket ball and a few additional products which could be offered separate discounts. A sample QLE looks like this for a very basic kit:
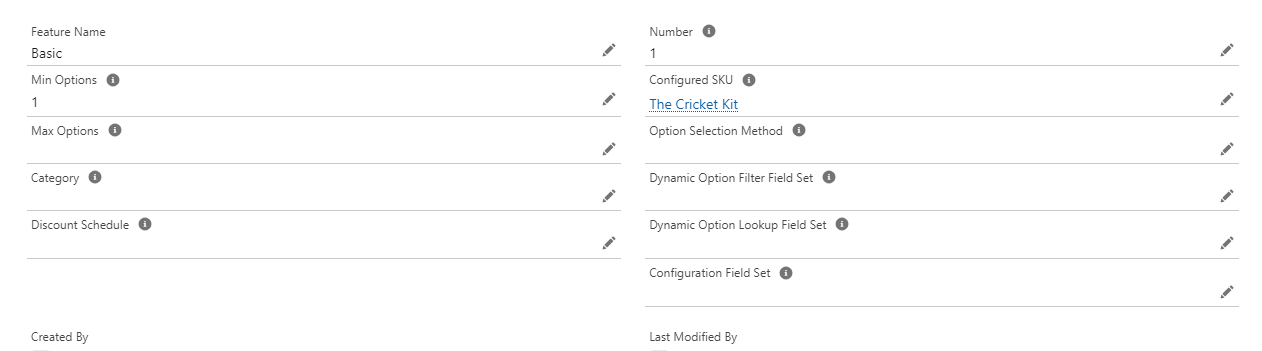
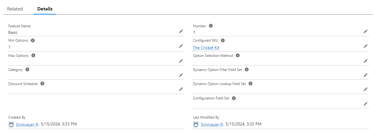
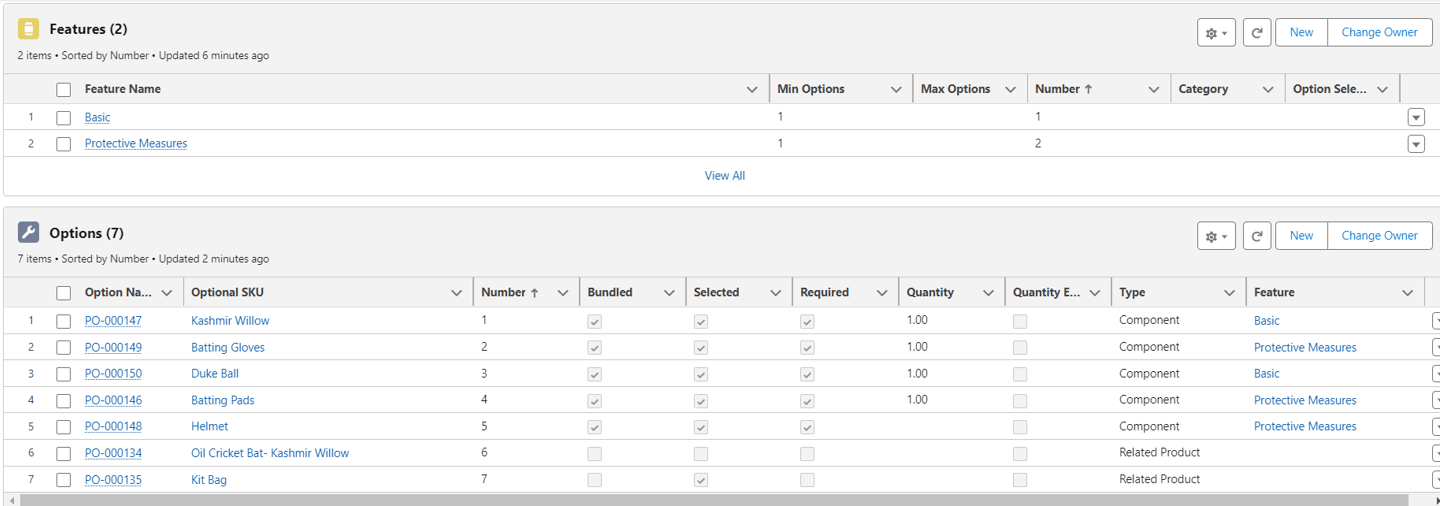
The first step towards such a bundle is to create all the seven products separately in Salesforce and then the final bundle product called Cricket Kit. Once these are set up, the individual lines should get attached to the bundle under separate features. From the parent bundle ( Cricket Kit), go to the related list and click on New under Features:
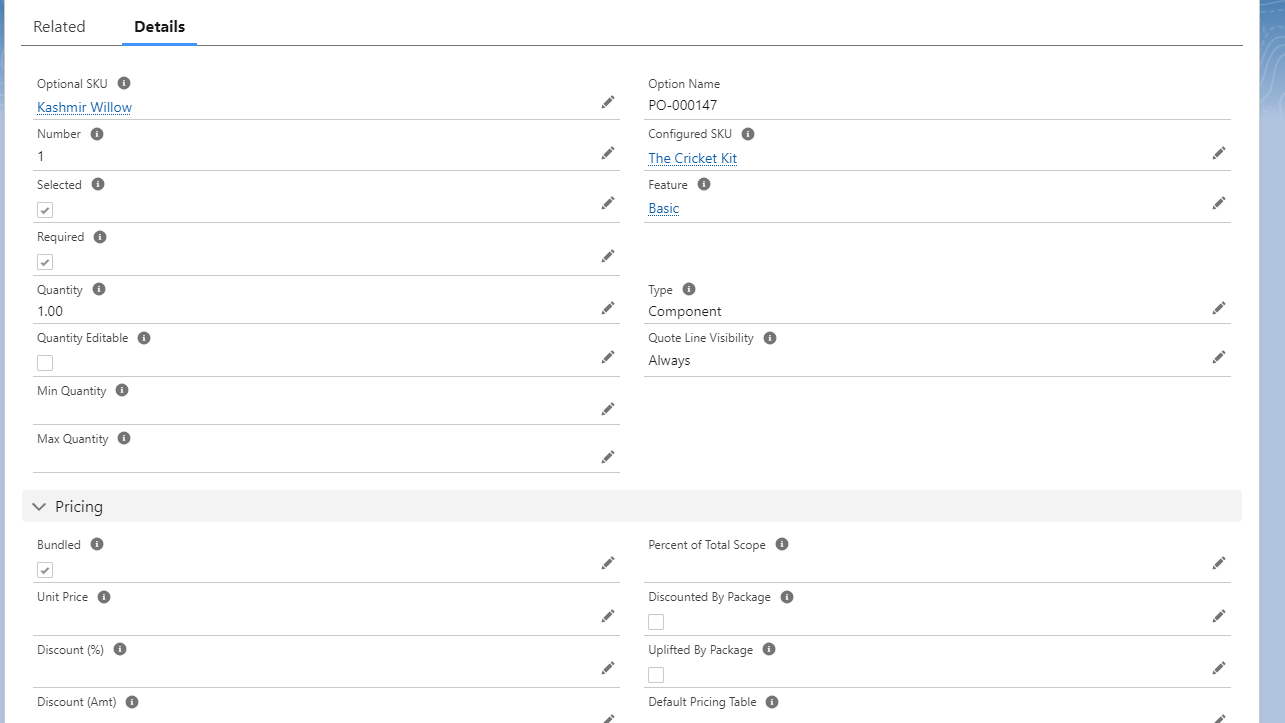
The next step is to related products to the bundle. From the parent bundle ( Cricket Kit), go to the related list and click on New under Options. Setting up a sample would look like this:
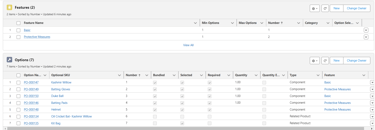
Optional SKU is a look up to the individual product ( Kashmir Willow). Link the product to the Basic Feature with Bundled, Selected and Required fields checked. The Type should be Component. Upon configuration of all, the related lists should look like this:
And finally, the QLE would show all the components with prices and the Quote can be processed and sent to customers after applying discounts as needed:
Significance of these fields would be discussed in upcoming blogs.